


 Here's one of the first spot illustrations I did for the book. The illustrations are well under way but I finally am taking the time to post this. (I had to get some of the images off of my digital camera). I took pictures as I worked in stages and then scanned in the final product. I just thought I'd share the process. This is Lynn...
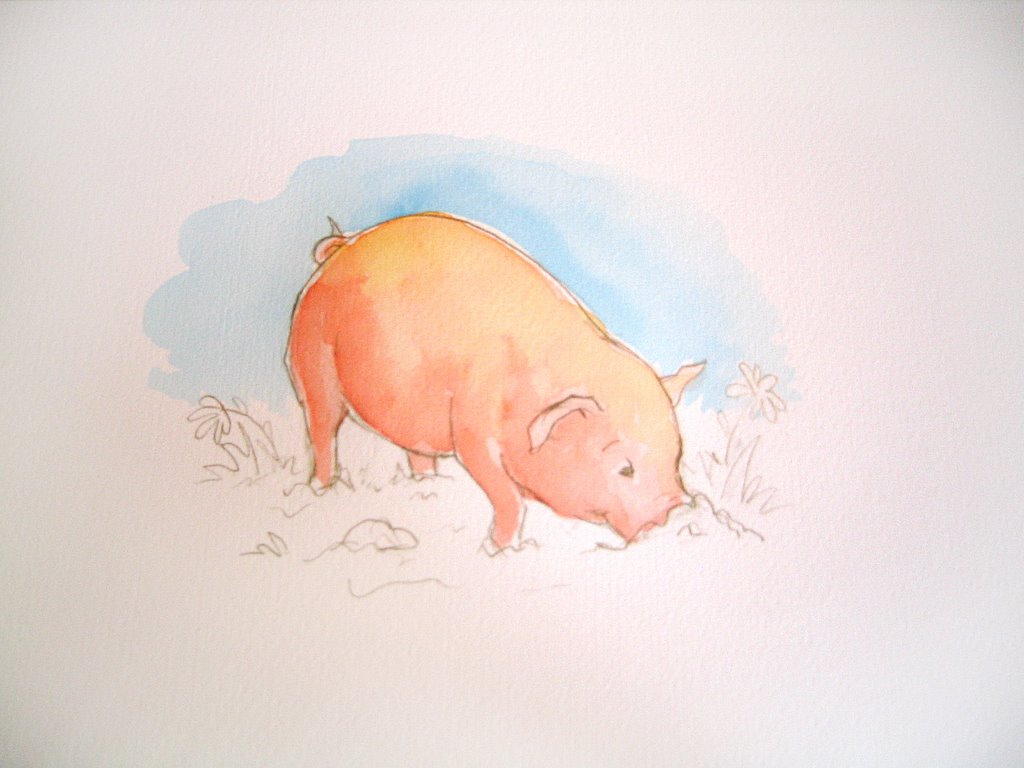
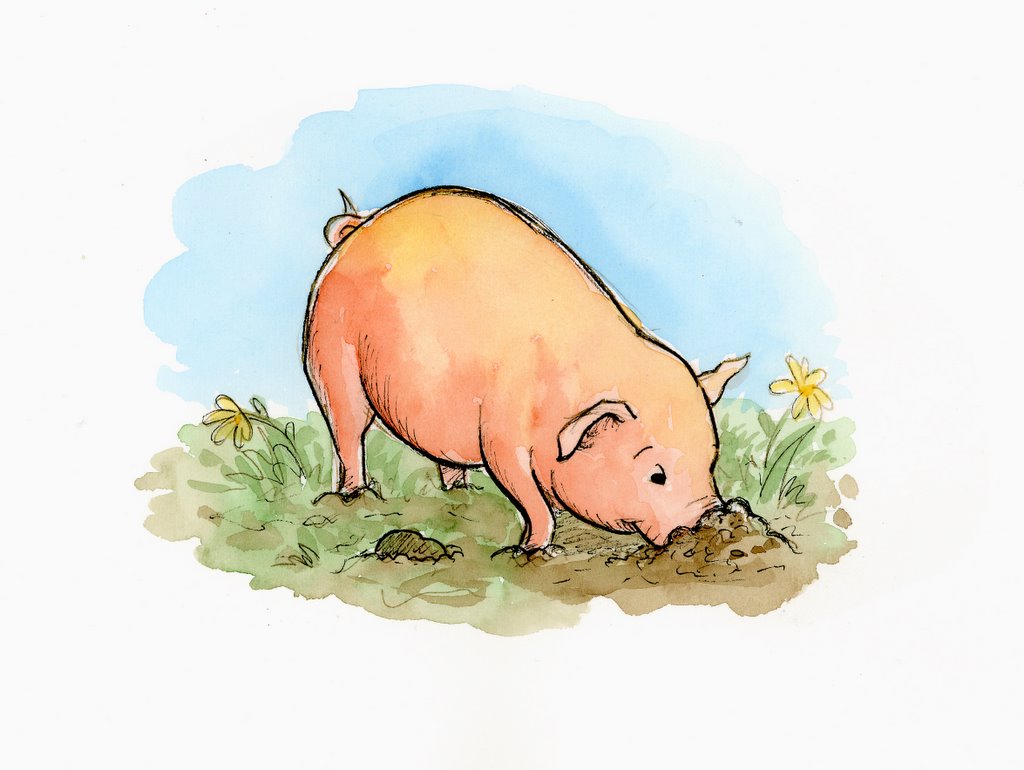
I print out the sketch, then paint in the background making sure to let areas I don't want to bleed to dry before going on. Then I paint in the main elements. Finally, I go over important lines with black ink.
I do all four spots for the double page spread at the same time so my color is consistent on the page. I just move to the next one as the previous sky or background is dry and just rotate like that.
I guess I should have scanned each stage so the color was correct. I tried to take the picture without flash hence the dark corners and skewed color. Just imagine the color tones on the final product on each stage. Sorry. I just didn't want to take the time to get down from my desk and scan each stage. Now I know that the camera doesn't quite do the work justice. Oh well. You get the idea.

These are nice. Always cool to see the process. I kinda like the step before it is inked. It's charming...not that the inked one isn't. Have you every tried a sepia ink? Just wondering.
ReplyDelete